Boot Care

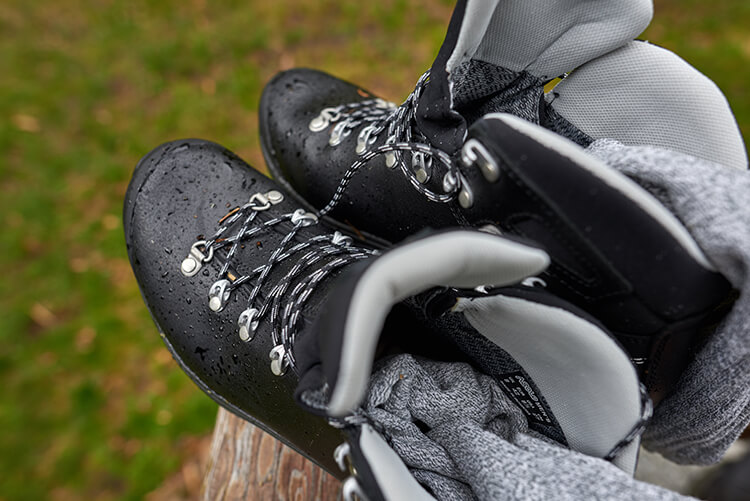
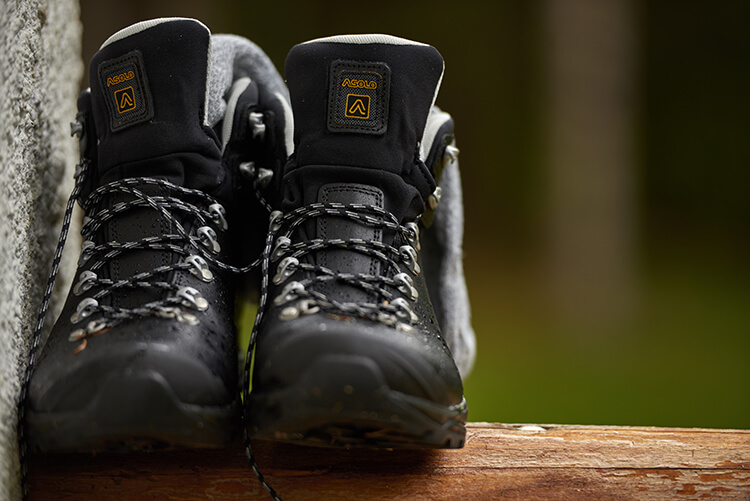
Damp, mud, road salt, sharp rocks, sunshine, all-day hikes, rock scrambling, a heavy pack on your back. And your boots are supposed to handle all that? Give them a little help and they'll cope for years – just like the boots of a seasoned mountaineer.

Waterproofing Boots

If the upper soaks up water, your boots get heavier, start feeling cold, and the waterproofing and breathability of the membrane inside suffer. Waterproofing stops water soaking into the upper. Well-nourished leather is also more resistant to wear and tear, so your boots last longer.

Spray Waterproofing

Material: suede, nubuck, synthetics
Application time: 1–2 minutes
Durability: low – needs frequent reapplication
Nourishment: low – stays on the surface
Effect on appearance: almost none

Wax Waterproofing

Material: smooth (and even buffed) leather
Application time: 10–20 minutes
Durability: high – reapply twice a year
Nourishment: high – penetrates deep into the leather
Effect on appearance: surface darkens

When to Waterproof?

You can tell the right moment by the toes of your boots, which take the most moisture as you walk. As soon as they start to darken, waterproof your cleaned, dry boots at home.

Waterproof New Boots?

Definitely. They usually come waterproofed from the factory, but not enough – and the treatment also wears off during storage, which often stretches to several months or even years.

Spray Waterproofing

It's quick – basically done in a minute. But spray doesn't penetrate deep into the material, so you need to reapply it more often. On the other hand, spray won't change the look or colour of the material. So if you want your boots to keep looking fresh out of the shop window, use a spray.
  1. First clean your boots and let them dry thoroughly.
  2. Shake the can and spray the boots evenly from a distance of 30 cm.
  3. Let the boots dry and ideally repeat the whole process once more.
Footwear Repel Plus Grangers 275 ml
buy spray

Wax Waterproofing

Wax penetrates deep into the material, so you don't need to apply it often. You can use it on smooth and even buffed leather – but expect the surface to become smoother and darker (which is why manufacturers don't recommend wax for buffed leather, although functionally it does it good). Once you've waterproofed with wax, you have to keep using it.
  1. Take out the laces, clean the boots and let them dry.
  2. Apply the wax at room temperature – the boots mustn't be frozen.
  3. Gently warm the boots with a hairdryer from a distance. The leather opens up and the wax gets deep inside.
  4. Spread the wax over the surface with a cloth or sponge – you can warm the wax with a hairdryer.
  5. Work the wax into the creases and around the lacing with your finger.
  6. Wipe off any leftover wax and buff away whatever hasn't soaked in with a cloth.
  7. If you've got a long trek or a hike in snow ahead, repeat the whole process once more.
G-Wax Grangers 80g
buy wax

Cleaning Boots

Dirt on your boots may look well-travelled, but tiny particles of dust and grime damage the upper materials. So before you leave your boots to dry after a hike, wipe them with lukewarm water and a soft brush or sponge.
Every now and then, also take out the insoles, clean them and shake out the pine needles and other debris that's built up underneath.
Boots don't belong in the washing machine – not even synthetic ones. Detergent and higher temperatures weaken the adhesives, and leather dries out after washing and loses its original colour.

Drying Boots

Stuff boots soaked on a hike with newspaper and let them dry slowly at room temperature. Swap the wet paper for dry now and then. You can also use a boot dryer.
Don't put wet boots on a radiator, by a fireplace or stove – glued joints can come apart near a direct heat source, and leather exposed to high temperatures hardens and cracks.

Storing Boots

A dry, shady place is probably the right choice for storing boots. But even better than storing boots is using them. The midsoles of most outdoor boots are made of polyurethane, which after a long time undergoes so-called hydrolysis – the midsole crumbles without warning. And it's precisely wearing your boots and changes of environment that delay polyurethane hydrolysis.
So the paradox comes when, after five or six years, the sole crumbles on hiking boots that spent most of their time in the wardrobe and have only a few outings a year behind them – practically unworn boots. Unfortunately, there's no adequate substitute for polyurethane.
Polyurethane hydrolysis doesn't have to be the end, though – hiking boots can be resoled.

Asolo Boot Repair

If you've got a worn-out sole or a crumbling midsole, but the upper is in good shape and the lining undamaged, send us your Asolo boots for repair. In 3–4 weeks they'll come back in shape for more years in the mountains:
  • with a new sole,
  • midsole,
  • rubber rand,
  • laces,
  • insole,
  • a cleaned upper
  • and repaired seams.
All about boot repair

Boots from a Family of Shoemakers

An honest shoemaker will make you boots that last. Boots whose seams won't give way in the middle of a two-week trek. An honest shoemaker will even repair your boots after years of wear and get them ready for more years of adventure. And such shoemakers really exist – in the Italian Zanatta family.
all about the asolo brand
Choose your language
newsletter

Sign up for the newsletter

As you read it, cold air will tickle your face. The mountains are calling…
Horolidi newsletter EN
envelopemagnifiercrossmenuchevron-upchevron-down