You've been tying your laces since nursery school. But if your hiking boots rub, you tend to get blisters on your heels or you're battling a high instep, it's worth learning a few more lacing tricks. They can solve all sorts of problems.
First and foremost, your hiking boots have to fit – in size and shape (check out how boots are built). How you lace them and how tight you pull different sections then lets you adapt them to specific terrain and situations.
Lower zone
Holds the front and middle of the foot – across the instep. Tightened properly, it gives you support on technical terrain – e.g. when scrambling on rock or wearing crampons.
Here the laces usually run through eyelets (or pulleys).
Upper zone
Wraps around the ankle and helps prevent sprains. Lacing in this section also helps lock the heel in place, which is exactly what stops blisters forming.
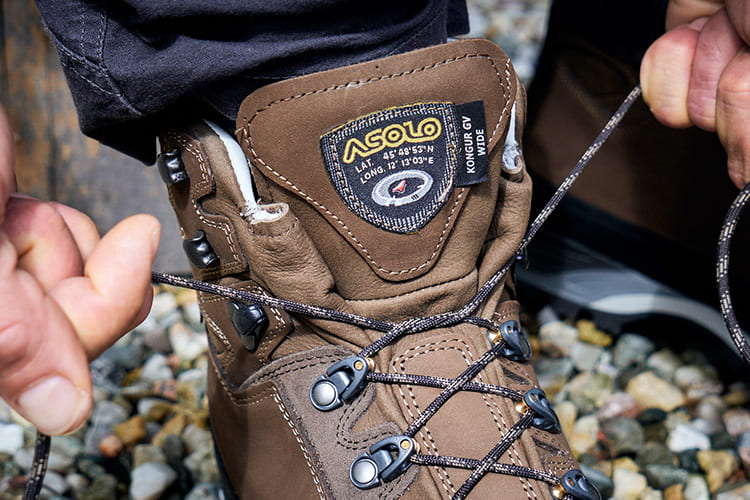
Here you hook the laces around metal hooks. The first (and lowest) pair of hooks is usually a locking pair – the laces jam firmly in them, holding the heel in place.
HOW DO YOU STOP LACES COMING UNDONE?
When you wrap one end of the lace around the loop made with the other, add one extra turn – and your laces will never come undone on their own again. You can still untie them perfectly normally when you take your boots off.
If it slips to one side or the other, it will start to press as you walk and rub your shins raw.
2
Keep your ankle straight
Otherwise you won't tighten the upper zone properly. Lace your boots with your foot and shin at a right angle – ideally sitting on a chair or a step.
3
Split the zones with a knot
If you want the lower zone of your boots really tight while leaving, say, the upper zone looser, tie a knot where the laces cross above the last eyelets.
4
Hook from the top down
For an even snugger fit around the ankles, thread the laces through the hooks from top to bottom. If, on the other hand, you want a looser upper zone, skip the top row of hooks.
5
Don't wrap your laces
Wrapping laces that are too long around the boot collar restricts the natural movement of your feet. Use a double bow instead, or get shorter laces.
Lacing for a high instep
If your boots rub across the instep, try parallel lacing, which reduces pressure there – without compromising a proper tightening of the lower zone.
Lacing to lock the heel
If your heel lifts as you walk, even slightly, you're heading for blisters. A heel-lock lacing holds the heel in place absolutely reliably.
Adjusting your lacing on the trail
After the first few hundred metres, hiking boots always loosen up a little. The boots warm up, the lining gives a bit, the laces settle. Stop and adjust your lacing – it's completely normal.
After several hours of walking, on the other hand, your boots may start to pinch. Your feet swell – that's normal too. So loosen your laces a little again.
Lacing for the climb
In the lower zone, tighten the laces moderately – not fully tight, but enough to keep your foot in place. In the upper zone you can leave the lacing on the looser side – so your shins can flex forwards and backwards, but without your heel lifting.
Lacing for the descent
In both the lower and upper zones, lace up good and tight – for better support on rough ground and more stable ankles.
How do you stop laces from snapping?
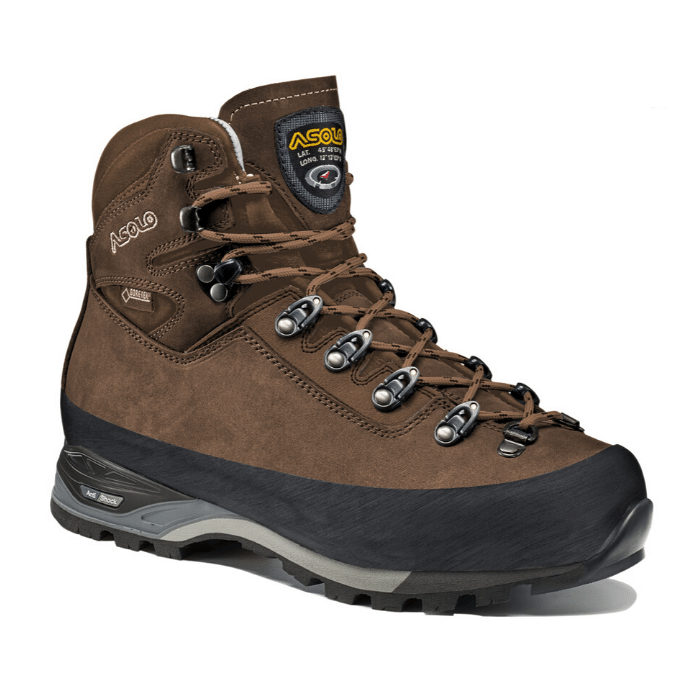
On some boot models, Asolo uses tiny pulleys instead of classic eyelets – the so-called Micro Pulley System. As well as reducing lace wear, they also let you tighten your boots better.
Dust, sand and other tiny particles damage laces. So take them out now and then and wash them in warm water. And there's no harm in giving them a spray of waterproofing – they'll last longer.
As you read it, cold air will tickle your face. The mountains are calling…
The mountains are calling
Get the newsletter that makes your day. Thrills, know-how and the secrets of true mountain folk.
We guard your personal data – and your inbox from nonsense. We only send the good stuff.
Cookie settings
You'll meet cookies even on the way to the mountains. How do you want to deal with them?
Functional cookies
Always active
Without these cookies the site won't work properly – and that won't make you happy. Because they are essential for the website to function, they cannot be disabled.
Preferences
The technical storage or access is necessary for the legitimate purpose of storing preferences that are not requested by the subscriber or user.
Analytics cookies
The technical storage or access that is used exclusively for statistical purposes.These cookies let us count visitors and see how they use the site. We use this to improve it – so you can always find what you're looking for quickly and easily, without anything getting on your nerves.
Marketing cookies
These cookies record your visit and let us remind you of us from time to time through ads – for example on Facebook, Instagram or Google.






 Asolo Kongur EVO GV


